Table of content
Different positions in BJJ include the mount, a dominant position that is recognized as the favorite position to start the match by the legendary Roger Gracie.
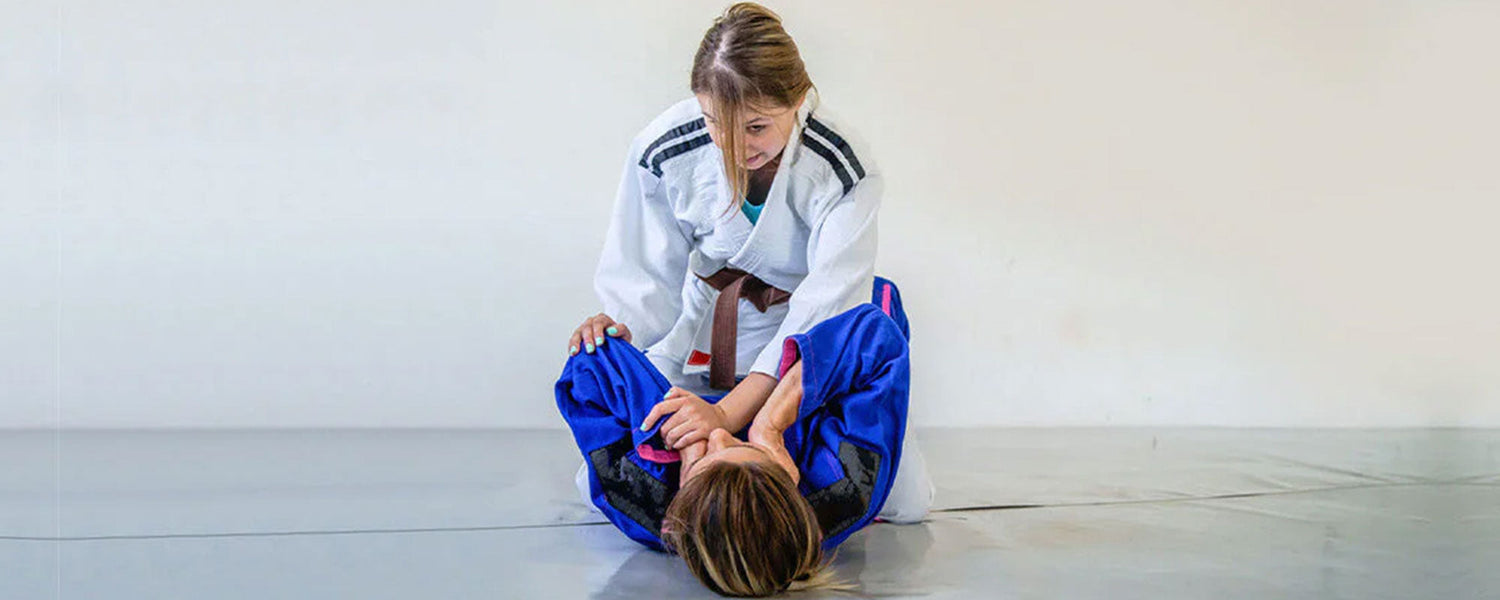
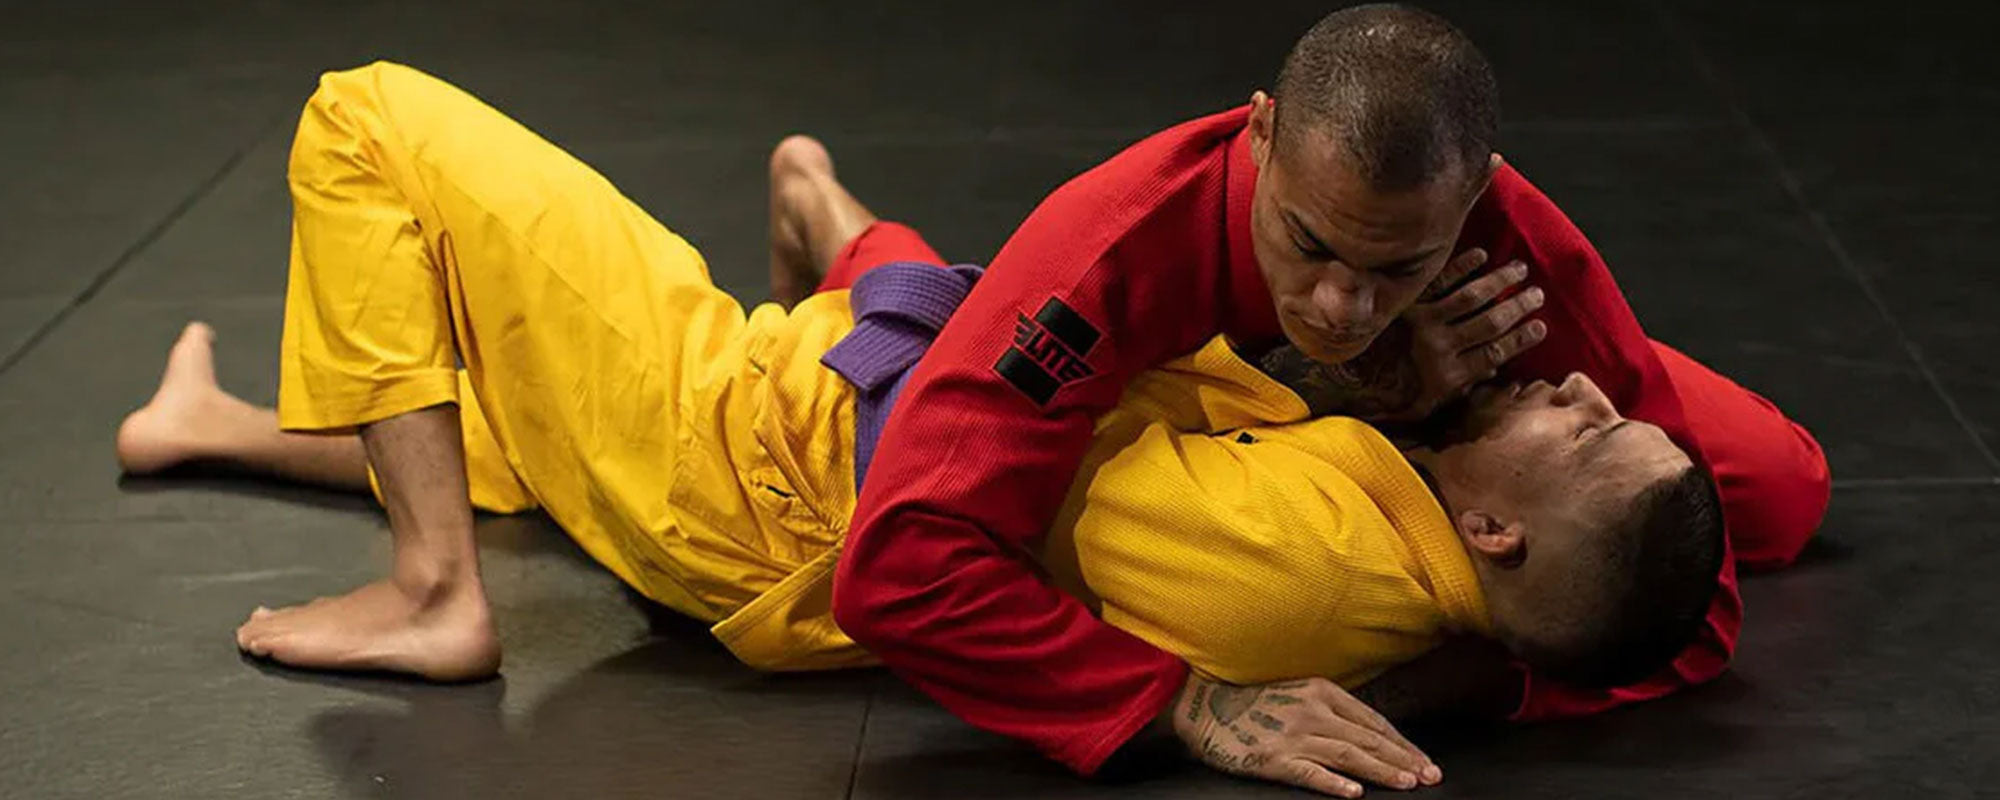
Simple mount positions in BJJ refer to any situation in which one athlete is on top of their opponent, sitting on their belly, with their opponent’s legs in between and behind theirs.
Since the body can be completely pinned from any side, there are several types of mount positions that can not only give you an advantageous position but can also score you decisive points to score victory in a BJJ match:
Read about various mounts here.
In this post, we’ll cover how you can get into the simple mount position, retain or defend it when you’re in it, or escape it if your opponent has mounted you.
1. Front Mount (Simple Mount)
The front mount is one of the most basic positions you’ll learn as a white belt.
Since it’s taught from the start, there’s a huge emphasis placed on the importance of this mount.
Unfortunately, a lot of blue and purple belts consider it an overrated position that has been explored and memorized by everyone.
This is probably because people have a difficult time retaining this position long enough to execute a finish if it’s not for their personal preference for side control variations.
For most people, the problem is amplified when they are facing taller opponents.
Other than the fact that you get 4 points for assuming and retaining a mount for 3 seconds, what might encourage you to explore this position could be the dozens of techniques that can be executed from here.
What’s more, is that you can even push your knees up to your opponent’s head to immobilize their arms and get into a High Mount:
As you’ll find, it’s an even more dominant position for the athlete on top.
The point is, there’s no limit to the things you can do from a mount, especially if you know how to retain it and want to do more than just get 4 points on the scoreboard.
Here are a couple of main variations to the mount:
- Low Mount (when you’ve mounted but are sitting on your opponent’s stomach)
- Technical Mount (Originally Side Mount)
- High Mount (you’ve mounted your opponent’s chest)
1.1. Retention
The number one thing that most people encounter to be the problem in retaining the frontal mount is their hips.
Being too grounded on your hips directly above your opponent’s will allow them to easily bridge you up and sweep you on the side.
To counter this, you need to put your head down and forward and spread your arms forward to nullify their bridge and shrimp attempts.
Tightening your knees around your opponent’s stomach won’t help your posture and balance.
Instead, increase the pressure applied on your opponent by balancing your whole body on them.
Some people recommend hooking your feet right under your opponent’s legs and shifting your weight upwards on their body to almost ‘surf’ your opponent by balancing yourself on them.
That’s because the real trick to the mount position (if you can’t score submission from here) is to move up and gain a high mount or an S-Mount.
You’ll notice that your opponent tries to instantly push you from coming higher up by placing a frame with their hands and pushing your hips to get you back into their guard.
This is where pro BJJ athletes use the exposed arms and pull one to the side while pushing themselves up and gaining a more dominant position (if not going for an arm or wrist lock with it).
In another case, you’ll find that flexible people will try to bring their legs up and try to take you down by pushing your shoulders.
This can be easily countered by having your arms come in between their legs to avoid the shove.
Lastly, if your opponent has managed to get their elbows in between your knee and their belly, you need to instantly go for the technical mount position as described below:
You need to let your opponent push your knee from one side to their arm’s max reach.
Whereas, your other knee will push upward towards their shoulder, allowing you to go for the higher mount again or for submissions.
1.2. Escaping the Mount
Most escape techniques are innovated at the time of execution because everything involved in the success of any strategy depends upon individual scenarios you face during combat.
That’s why you should make sure to innovate these moves as per your situation, e.g. switching to the appropriate side or mixing two strategies at once when one fails, etc.
Having clarified that, here’s an overview of the most famous escapes you can use against a mounted opponent:
Hip Bridge
The first way to escape a mount position with your opponent having their hands spread out, as described above, is to hold your opponent’s hips and use your hips first before your hands to push them up.
This will get your opponent to shift their floating body’s weight on their hands and create enough space for you to get one or both your legs and knees in to either toss them with a butterfly sweep or get into half guard or even apply ankle submissions.
Elbow Escape
Another way to escape the mount is to set your left elbow against your opponent’s knee while having your left leg extended forward.
This will allow you to shrimp backward and turn left and get your right foot to come across on the other side. (VARIATION POINT)
Use that right foot to take your opponent’s right leg and push it between your legs and pin it using a scissor lock. (Your legs will squeeze your opponent’s leg by applying pressure against one another)
Open their leg and turn around to get an underhook on your opponent. This will open up bridging opportunities.
This escape also offers you a variation that can help you get the butterfly sweep in another way.
Knee to the Half Guard Escape
From the (VARIATION POINT), if you find that you can’t use your right foot and execute the escape above, turn to the left, take your nose to your opponent’s knees while shrimping back to get your knee out and get into a deep half guard or a butterfly sweep.
Hooked Leg Counter Escape
Finally, you can use the moment your opponent hooks their legs beneath your hips and sweep them to the side while pinning their leg.
Although pro athletes will make sure that their feet aren’t low enough for you to use as leverage, you can still use this escape strategy against low-level white or blue belts.
However, this doesn’t mean that you can’t use your own alternations and innovations to justify your escapes as long as they work.
1.3. Possible Submissions from the Mount
- Mount Triangle
- Cross Choke from Mount
- Bow and Arrow Choke
This is a choke that is used when people are starting to defend against your cross choke.
When you reach for the upper hand Gi grip, you’ll notice your opponent has pinned your arm and is going to bridge you up.
Instead of fighting the bridge, let them take you into a technical mount position as described below.
Once you’re in the technical mount, you can use your other hand and get it across the other side from behind your opponent’s neck.
Once around, take your left hand to the grip you have with your right hand.
Now that your right hand is free, use it to grab your opponent’s knee.
Take your shin and put it up against the opponent’s neck from behind after pushing them on their side to give your leg the necessary space.
Now, all you have to do is slowly back down and apply the deadly pressure that the bow and arrow choke variation is famous for.
Baseball Bat Choke
With your hands on your opponent’s Gi behind their neck, wait for your opponent to attack your arm or make a bridging attempt.
All you need for the baseball bat choke is the grip from this mount position.
Once you have a firm grip and your opponent’s making their escape attempt by blocking you with their arms, take your left leg and bring it across the mat.
While doing so, bring your right knee and your opponent’s arm next to their right shoulder.
From here, slide and turn until your opponent’s spine is in line with yours.
Since you have your hands locked in the grip, you will need to use your head as a base to apply pressure.
Some people prefer to put their heads on the opponent’s stomach, causing even more breathing problems for them.
2. Takeaway
Now that you know the basic mount position in BJJ, move on to learn about the Rear or the High Mount.
To shop for Gi or rash guards, check out the inventory here.


Leave a comment
This site is protected by hCaptcha and the hCaptcha Privacy Policy and Terms of Service apply.